Types of trainers #
There is a wealth of indoor cycling equipment available on the market. You can read more about the pros and cons of each type of trainer equipment in our article ‘What Equipment Do I Need to Get Started?’. Below you can read more about how you set up and pair your indoor cycling equipment with Open Road.
What is ANT+ #
ANT+ is one of the most popular wireless standards for sports devices. It is created to make devices inter-compatible. ANT+ is your guarantee that the devices can connect with other devices and apps that are ANT+ compatible. You can read more about ANT+ here.
How to set up your trainer if you have ANT+ compatible devices #
To set up your trainer, you click ‘Set up Trainer’ from the main menu:

Now you have the option to pair with ANT+ compatible devices. Pairing means that Open Road will remember which devices it should connect to when the training session starts.
To start pairing, activate all your ANT+ devices and click ‘Search’ and all your devices will show up in the display:

If you have problems connecting to your ANT+ devices, please consult our article ANT+ connectivity problems.
Now you can pick the source of input for speed, cadence, power, grade (resistance), and pulse. To pick the input source, you simply click the device you want to use:

If you want to undo the selection, you simply ‘click to unselect your choice’:

You can read more below to learn more about each specific source of input.
Once you have paired with the devices you want to use, you click ‘Save pairing’ and start entering your personal data:

Speed #
The input source of speed controls the speed of the video. You can control the speed automatically by pairing to a speed sensor, a power meter, or a smart trainer. If you do not have one of those devices, you will need to control the speed manually (using the plus and minus key). Some smart trainers also output power. If that is the case, it is important you pick the smart trainer as input if you want the smart trainer to simulate the slope of the road.

Cadence #
If you have an external ANT+ compatible cadence sensor you want to use, you simply pick it here:

If you have a smart trainer with cadence output, Open Road will automatically show the cadence during the training session.
If you have both and you pick your external cadence sensor, it will overrule the cadence output of the smart trainer.
Power #
If you have a power meter and you want to display the output, you simply pick the power meter here.
Grade #
The grade (slope of the road) can only be simulated with a smart trainer or manually. Manually means you have to adjust the resistance of the trainer’s brake to simulate the slope of the road. If you have a smart trainer, the smart trainer will simulate the slope for you. To have the smart trainer simulating the slope, it is important you also pick the smart trainer as the source of input for speed.
Pulse #
If you have an ANT+ compatible heart rate monitor, you simply pick it here.
How to set up your trainer if you do not have any ANT+ compatible devices #
If you do not have any ANT+ compatible devices, you simply click manual adjust. Manual adjust means you adjust the speed yourself by clicking the plus and minus keys.
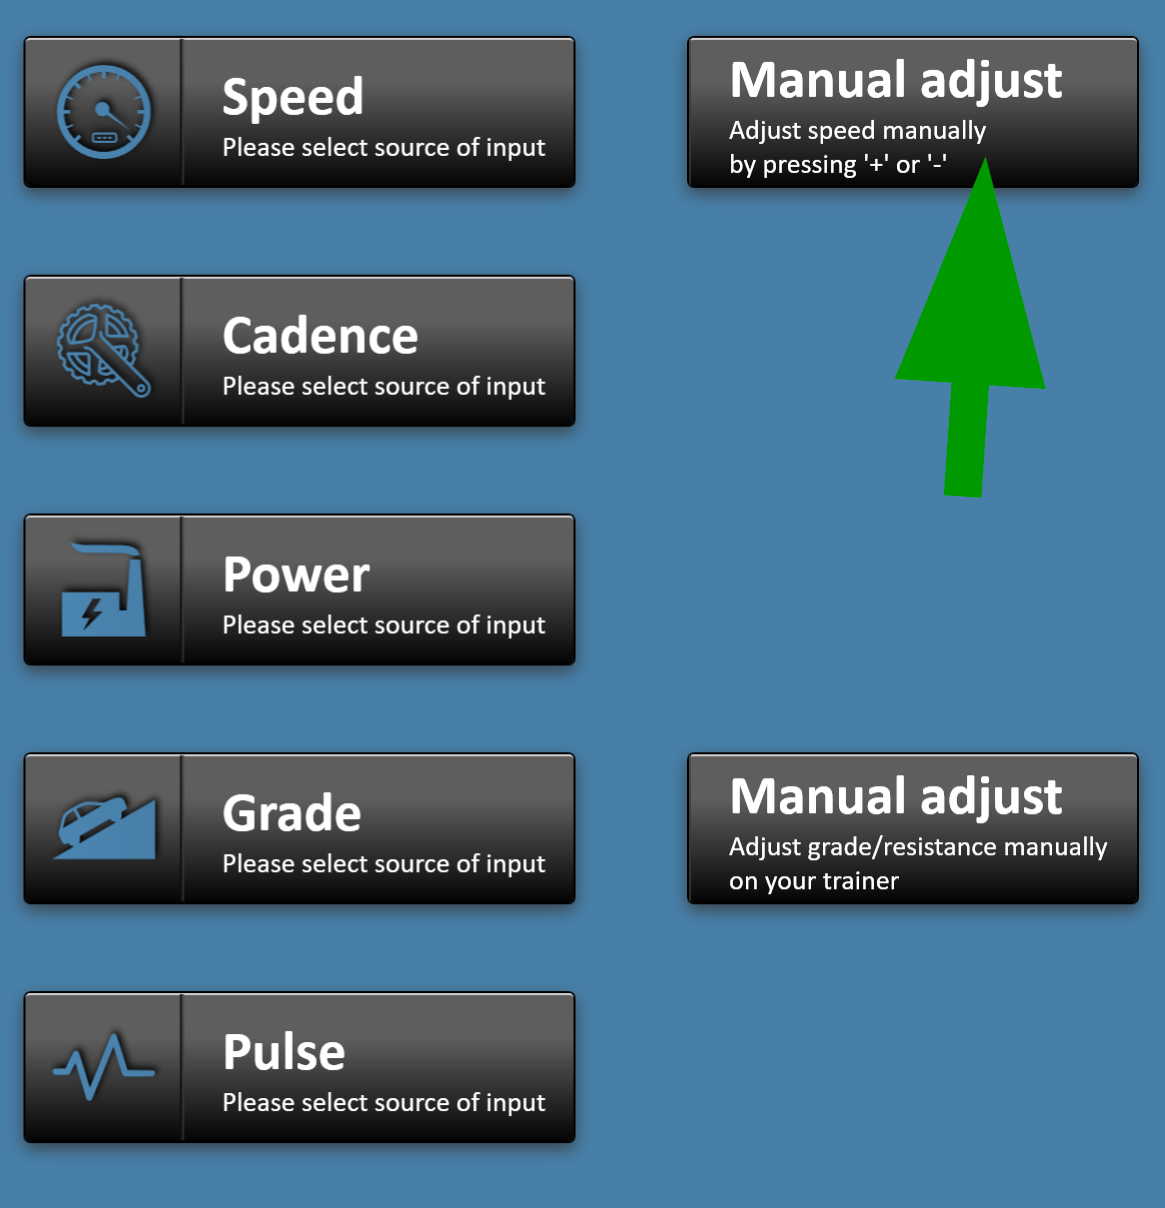
It also means that you will need to simulate the slope of the road manually by adjusting the resistance on your trainer. Once you picked ‘Manually adjust’ you click ‘Save pairing’ and start entering your personal data:
Entering personal data #
You can enter your personal data when you are setting up your trainer (see above) or from ‘General settings’:

Your personal data is important to enter as it is used to calculate the correct speed and burned energy. If you are not using any ANT+ devices, it is unnecessary to enter any personal data.
The weight and the wheel circumference are used to calculate the correct speed when using a smart trainer, power meter, and speed sensor.
Crank arm length data is only necessary to enter if you are using a power meter.
When you enter the data for the first time, it is important you click the ‘Save’ button. If you already have entered the data, you can go directly to the ‘Main menu’:


