Selecting a ride #
Once you have downloaded a ride, it ends up in your library (‘My Library’). To get an overview of the rides you have downloaded, you click on the ‘My Rides’ button from the main menu:

Open Road will show you all the rides you have downloaded to your local and external hard drive. By clicking on a ride, you get more details and the option to select the ride:

To select the ride, you simply click ‘Select’:

After selecting a ride, you get an option to start the ride right away or do it later. If you want to go for the first option you click ‘yes’:

If you want to start the ride later, you click ‘no’, and you have the option to start the ride from the main menu.
Starting the ride #
You are ready to start your ride when you have downloaded a ride, configured your trainer, and selected the ride. You can start the ride from ‘My Library’ or directly from the main menu by clicking ‘Bike Now’:

If you have paired Open Road with ANT+ devices, Open Road will start checking if the paired devices are available. If your ANT+ devices have not been activated, the check will fail. Activate your devices and do a second search by clicking ‘Check ANT+’:

Once the check has been passed, you can start the ride by clicking the ‘Start training’ button:

You are now ready to start your bike ride. If you are using a smart trainer, power meter, or speed sensor, all you need to do is to pedal. If you are running the app in manual mode, you control the speed by using the plus or minus key/button:

You can finish the ride any time you want by clicking the ‘End training’ button in the lower right corner. If you finish the ride before it is completed, Open Road will remember where you ended. Next time you start the same ride, you get the option to continue the ride where it ended last time.
Advanced features #
Select starting point #
You do not have to do the entire ride. Instead, you can pick where you want to start your ride. To do this, you simply click the ‘Starting point’ button:

And move the slider to the position where you want the ride to start.

Virtual gearing/setting difficulty #
Virtual gearing is a smart trainer feature where you can make a ride easier or more difficult by adjusting the virtual gearing before and during the ride. You can read more about this feature in our article How do you change the difficulty/virtual gearing?
Virtual Speed #
Virtual speed is a smart trainer and power meter feature. We developed this feature to make the ride more realistic. You can read more about this feature in our article What is Virtual Speed?
Calibrating your power meter #
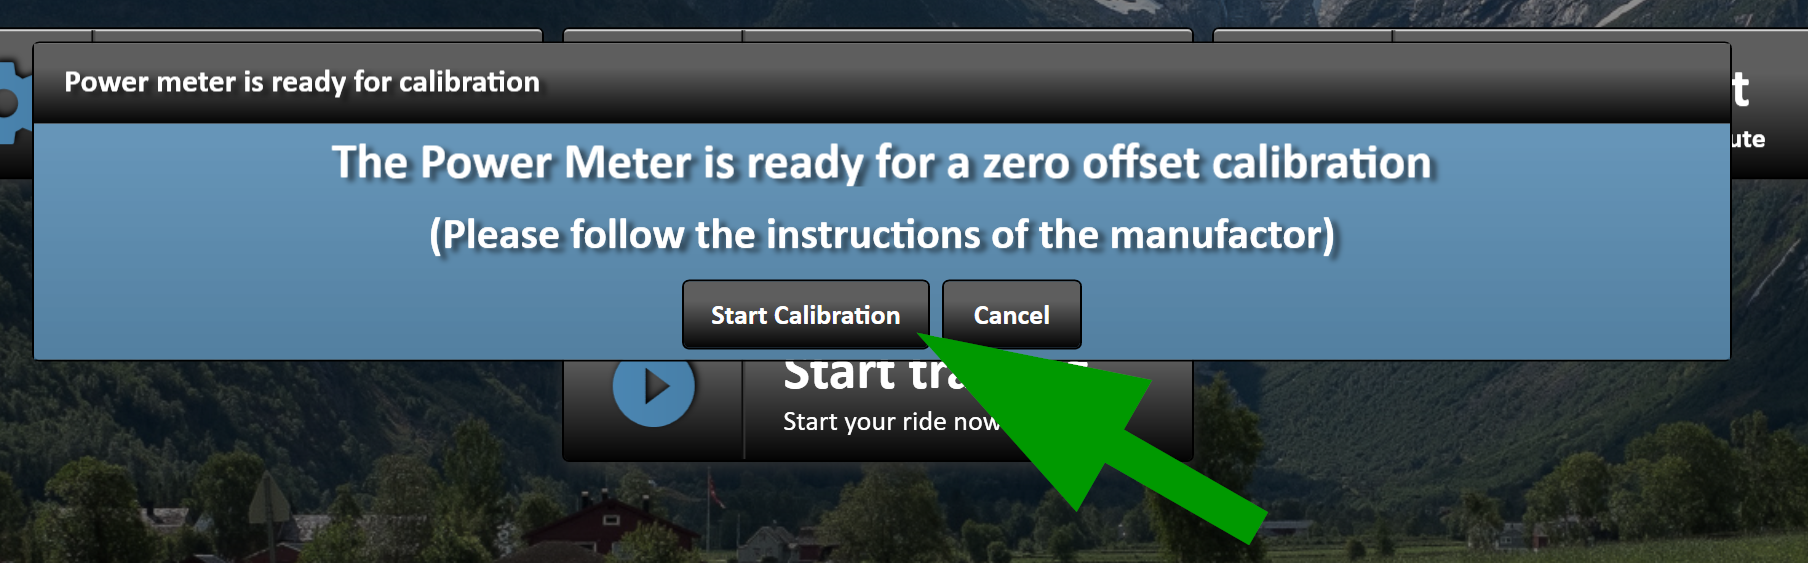
You have the option to calibrate your power meter before you start the ride. To get started, you click the ‘Calibrate Power’ button:

And then you click ‘Start Calibration’ and follow the instruction of the manufacturer.
Controlling the difficulty by adjusting the weight #
This is a special feature that is only available for smart trainers and power meters.
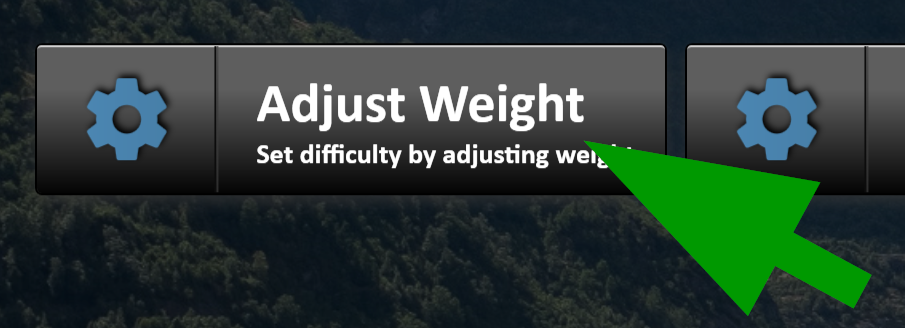
Its purpose is to make rides available for athletes that are injured or not able to complete the ride under normal circumstances. You can read more about this feature in our article on how to get started as a beginner.What is Virtual Speed


