How to Take Photos During the Ride #
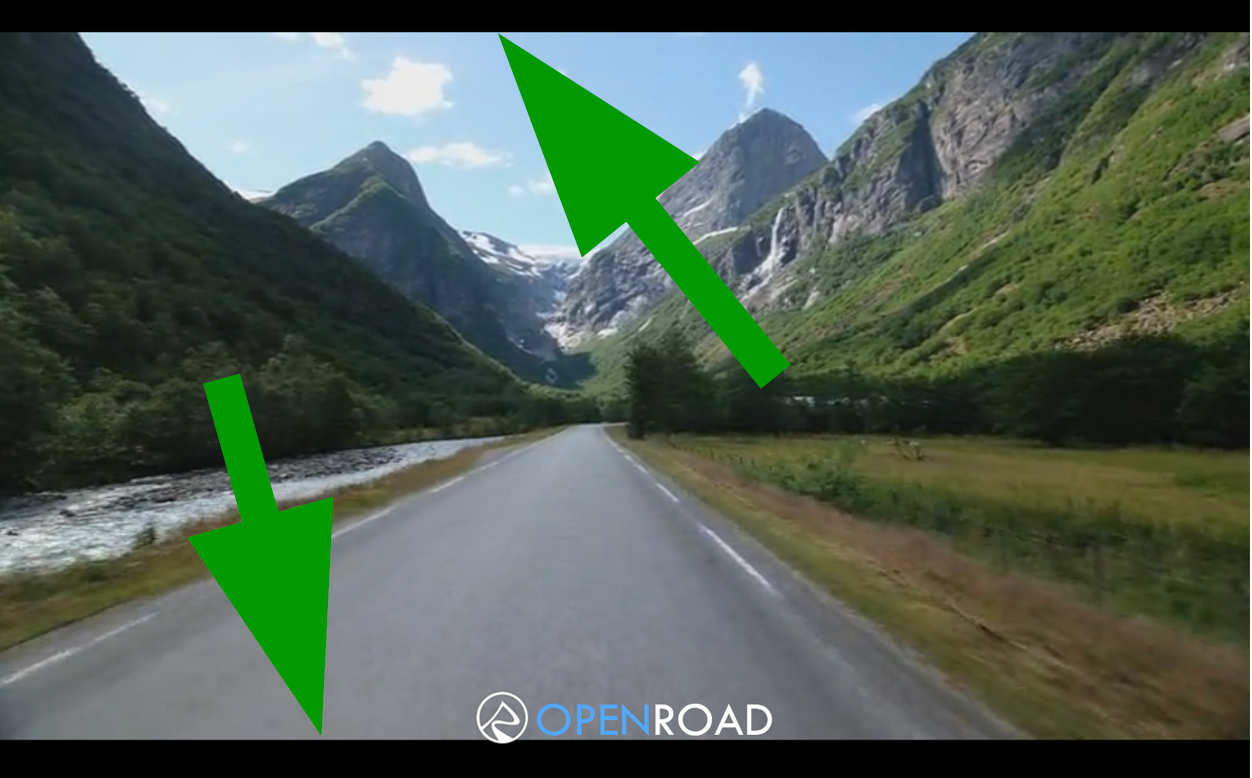
Taking photos during the ride is simple. You simply hit the key ‘p’:

The photos will be saved in the Open Road folder found in your Documents library.
Some antivirus applications prevent Open Road from saving the photo as they are concerned that the photo file contains a virus. Please consult this article to learn more.
Using Your Smartphone as a Keyboard Remote Control During the Ride #
If you have trouble reaching out for the keyboard and hitting the key ‘p’, there is a solution for that. Various apps such as ‘Remote Mouse’, ‘Matric app’, and ‘Unified Remote’ works like a remote control for the keyboard. Some of the apps have buttons you can program, while others have an inbuilt keyboard. Once the app has been set up, it connects to your computer and lets you press the key ‘p’ from your smartphone.
How to Share Your Photos on Strava #
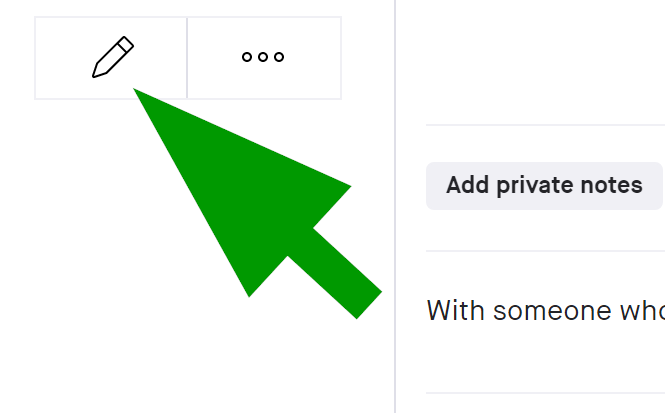
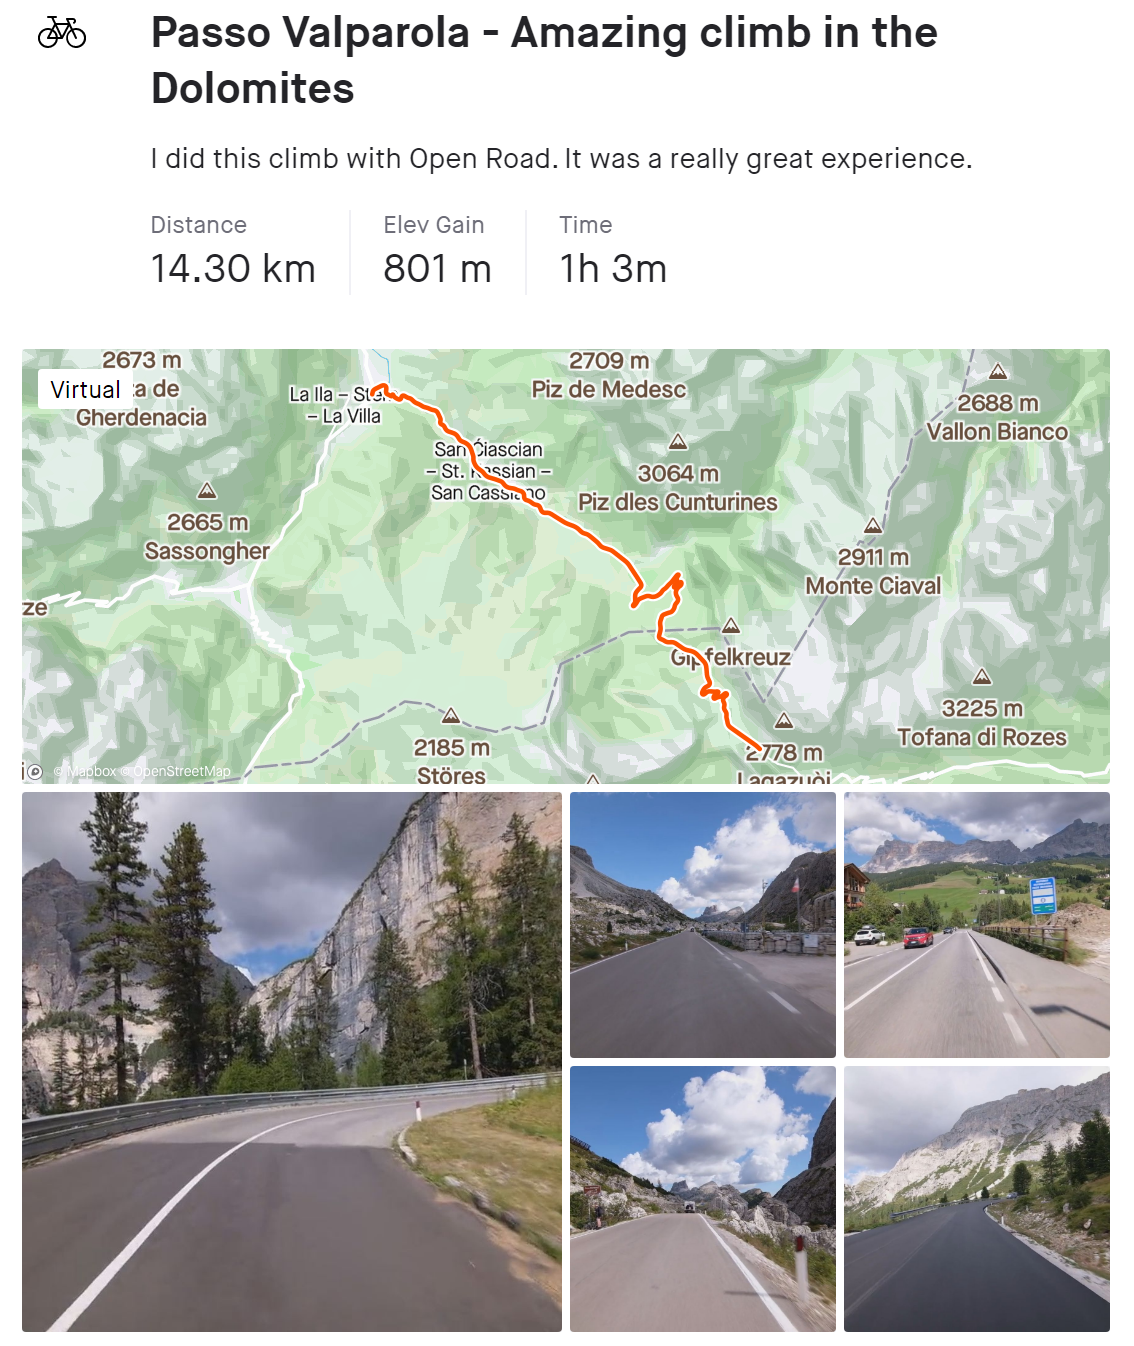
Not only do your followers love photos, but according to Strava, your followers will also give you more kudos if you have photos in your postings. Sharing your photo on Strava is easy. You simply find your uploaded ride on Strava and click edit:
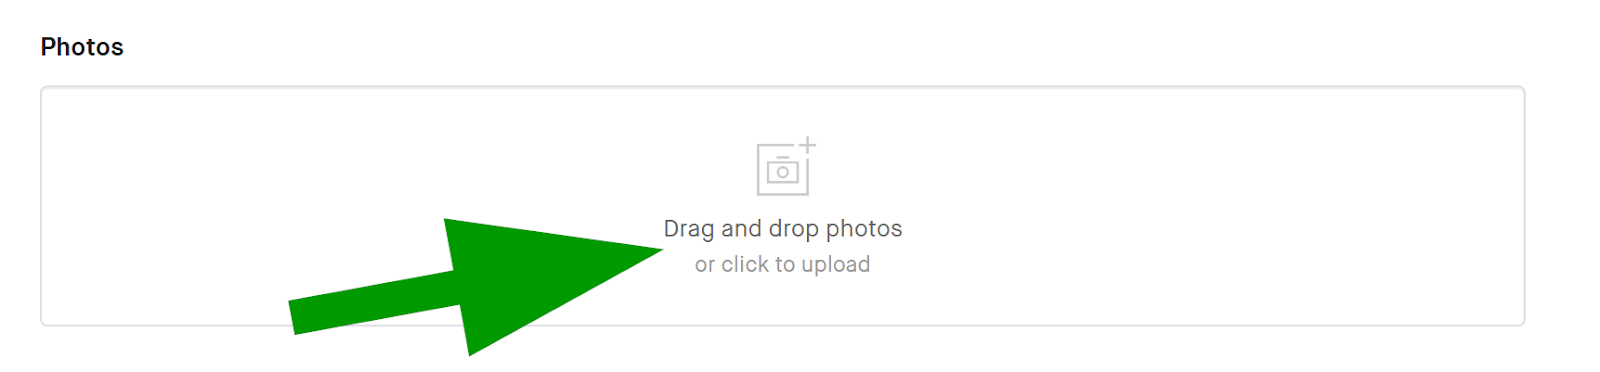
You will find an option to add photos at the bottom of the edit page :
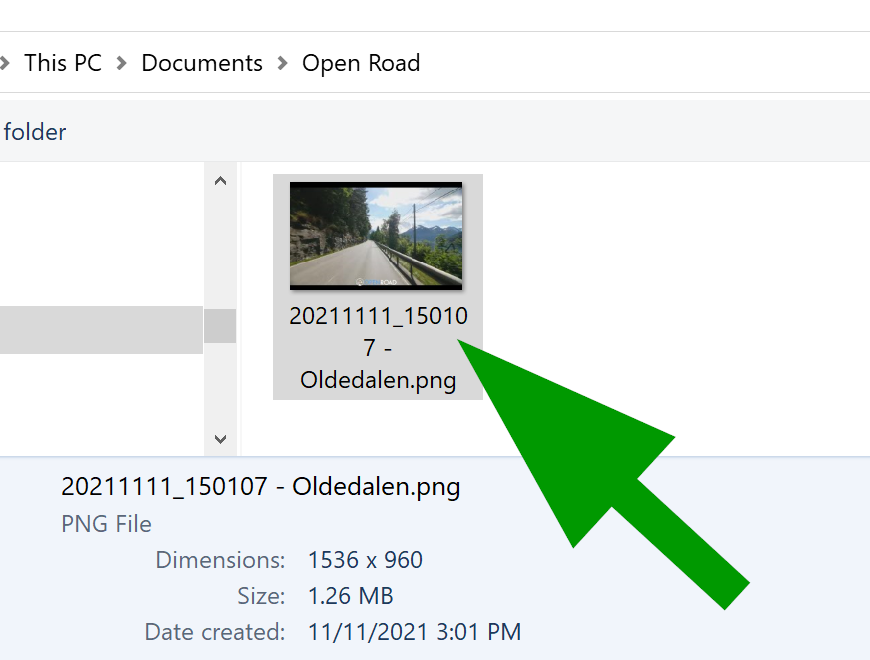
All you have to do now is to go to the Documents library and find the Open Road folder. Now you pick the photos you would like to share:
Once you have saved the update, your posting will look much nicer and interesting to your followers:
Black Bars #
We have filmed all our rides in the 16:9 aspect ratio. If you have black bars on the top or the bottom of the photo, then your screen has been set up for another ratio.